Ticketbud Tips and Tools*
October 17, 2013 • by Jane Carter
3 Ways To A Perfect Check-In Experience
Are you ready for check-in? The check-in experience is your first impression on event day so make it a good one! To help you impress your guests, here are 3 quick and easy ways to set yourself up for check-in and registration success.
1. Scan Tickets With The FREE Ticketbud App
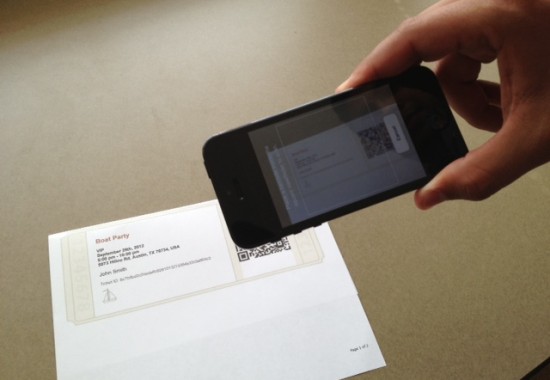
Ticketbud offers a FREE app for your iPhone, iPad or Android device that allows you to scan the uniquely coded barcode on each ticket. When you scan a ticket, the app will connect with your Ticketbud account and log that person as "checked-in", giving you important data on who actually came to the event and when exactly they arrived. If the ticket being scanned is fraudulent, the app will show red, altering you this ticket has already been scanned and is a duplicate.
Click here to download through the Click here to download through the
Apple App Store Android Marketplace
2. Search For Guests On The "Check-In Guests" Page
In your Event Dashboard, you will see the "Check In Guests" tab in the control bar on the left. On this page, you can quickly and easily check in a guest by searching their name in the search bar. Simply enter a guests name and you will see his or her name appear, complete with additional information including when they bought they ticket and what type of ticket it is (General Admission, VIP, etc). 
3. Print Out A Guest List As A Hard Copy
Should your technology fail, a hard copy guest list is a great fall back plan. Your guest list will include all attendees up to the time of print along with all relevant information related to their purchase. To print out the list, first go the "Ticket Sales" tab of your Event Dashboard. On this page, scroll down below your ticket information to find the "Export Tickets" button. Clicking on this button will open the list in spreadsheet format like Microsoft Excel, from which you can print and use as your guest list.
 ]]]]> ]]>