Learn how to use Ticketbud's free mobile check-in app to scan tickets or search for guests by name and register their attendance.
Get started with the Ticketbud Check-in App:
Step 1 : Download the Ticketbud app on IOS or Android
Step 2 : Create a login
Step 3 : Click on the current events tab and select your event
Step 4 : Select SCAN TICKETS option to get started processing tickets (your camera will open)
Download our free check-in and scanner app for iOS at the Apple App Store, and for Android devices from the Google Play Store. Find more instructions about the check-in app here.
How to Create Tickets for Your Event
This tutorial walks you through how to create tickets for your event. Learn how to use our ticket editor and manage ticket settings. We don't restrict the number of ticket types you can create.
In this Tutorial:
Creating ticket types
Ticket quantities and maximum capacity
Ticket programming and early bird sales
Group Ticketing
Donation options
Access codes (locked tickets)
The tutorial also includes an introduction to complementary tickets, offline sales and custom questions.
How to Create Custom Ticket Layouts
In this video tutorial we show you how to customize your ticket layout design.
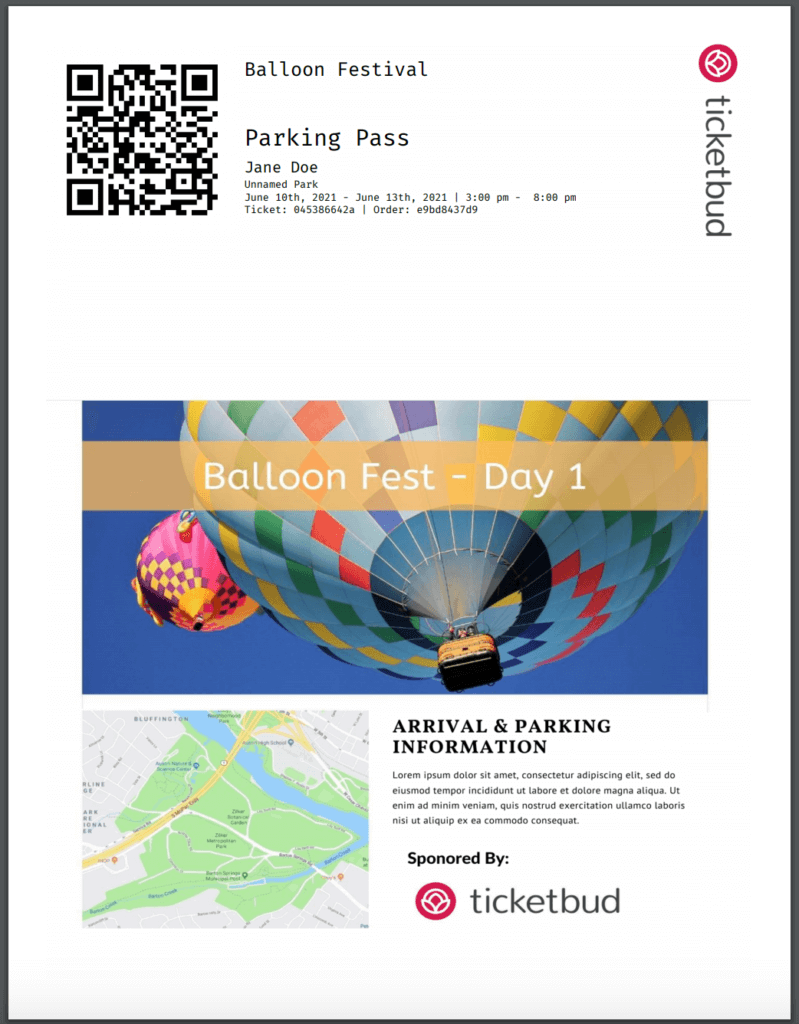
You can create different ticket layouts for your various ticket types. A parking ticket for example might include directions and a parking map.
This is an optional feature that gives you greater flexibility in your ticketing experience, as well as an additional branding opportunity.
Example custom ticket design
How to Create Custom Questions
In this tutorial we show you how to create custom questions.
As attendees register or purchase tickets for your event, you have the option to ask them questions. The questions can be required or optional, and can be applied to specific ticket types or all tickets.
Common uses for custom questions:
Dietary requirements
Clothing size or color request
How did the attendee hear about the event
How to use Stripe POS to sell tickets for your event
How to use Stripe POS integrated with Ticketbud's event ticketing to sell tickets for your event at the door.
Connect Stripe POS with your Ticketbud event:
Step 1 : You can either hire a POS devise from the Ticketbud Store or you can use your own.
Step 2 : Charge the device for at least 2 hours
Step 3 : Login to Ticketbud app and select your event
Step 4 : Select 'Sell Tickets' on that event and then 'Connect Reader'
Step 5 : Click the button on the side of the POS device to turn it on. This device should then appear as an option on your Tickcketbud app. Click to select it.
Get to know the 3 dashboards you will encounter on Ticketbud. Watch this video and you'll know your way around in minutes.
Our dashboard menus:
The Account Dashboard: holds all your information at an account level and all the events that sit under your account.
The Event Dashboard: where you manage your individual events.
The Organization Dashboard: this is an optional third dashboard for organizations that essentially offers the ability to create sub-accounts. Beneficial if you run events for multiple organizations, groups, departments or locations.
Get to Know Your Event Settings
This tutorial picks up after the initial getting started checklist. Once you've created an event and added some basic information, this video will help you learn more about the options you have in Event Settings.
In this video we cover:
Set terms and conditions
Confirmation/Thank you page
Ticket emails
Event visibility (private, public, invite only)
Add map to event page
Add calendar to event page
Custom registration questions
Time zone
Notifications and more
Get Started on Ticketbud & Create Your First Event
If you have just signed up to Ticketbud, this video walks you through getting started and creating your first event.
6 minute Getting Started Checklist:
Step 1 : Sign-up to Ticketbud (we just need your name and email). It's free! No need for credit card details
Step 2 : Create an event page using our simple template
Step 3 : Add ticket types (unlimited)
Step 4 : Select a secure payment processor (for paid events and donations)
That's it, you're ready to make your event live. Let's get started.
Create a Custom Web Link to Your Event Page
In this tutorial we look at how to create a customized event URL for your event page promotion.
Once you have completed the Getting Started Checklist (which we cover in another video), you are able to activate your event. Next you will want to customize your Event Link URL.
How to find and customize your event link (URL):
After you have activated your event you will land in your Event Dashboard. Because this is a new event, there’s no active data available yet. But once ticket sales begin you’ll see an overview of your event data here.
In the Event Dashboard is where you find your Event Link. This is the web link to the event page you created to promote your event. When you first create your event, there’s an auto generated link. However you can customize this by clicking on Edit Link.
If this is your first event you’ll be asked to select a SUBDOMAIN. The subdomain sits at the start of the link and will be added to all your subsequent events. We recommend using an organization or business name here, something that will be relevant to other events you may create. This part can’t be changed again without our help. So make sure you are happy with it before saving.
Next you can change the URL event title. This will automatically be your event name, however you can create a shorter version of this if you wish. This part of the link only applies to this particular event
Then when you're happy with this - Save Changes
Your Event Link will have changed to your customized version. If you click 'View Live' you can preview your event page that the Link is directing to.
If you want to promote your event page online, you just need to go into your Event Dashboard and copy your custom link.